To-do App Build Along (PART 1): Security & Premiddleware for Role Based Access
In this guide, we'll learn how to set up role-based access control in Xano, a no-code platform for building backend services. This system will manage user permissions and resource access in our application, ensuring that only authorized users can perform certain actions.
Understanding User Roles
Before we dive into the implementation, let's define the user roles we'll be working with:
- Admin: An admin user can create, edit, delete, and modify all resources in the application.
- User Owner: A user owner can only perform actions on resources they own.
- Guest: A guest user can only view resources, without the ability to create, edit, or delete them.
Setting Up User Roles
To set up user roles, we'll create two data tables: one for `users` and another for `roles`.
Users Table
In the `users` table, we'll have columns for `name`, `email`, `password`, `roles_id`, and `username`. The `roles_id` column will be a reference to the `id` column in the `roles` table, allowing us to associate each user with a specific role.
We'll set a default value of `1` for the `roles_id` column, which will assign the "User Owner" role to new users by default.
To ensure uniqueness, we'll create a unique index on the `username` and `email` columns.
Roles Table
In the `roles` table, we'll have two columns: `enum_list` and `description`. The `enum_list` column will contain the role names (e.g., "admin", "user", "guest"), and the `description` column will provide a brief explanation of each role.
Implementing Pre-Middleware
Pre-middleware in Xano allows us to execute logic before our endpoint functions, making it the perfect tool for enforcing access control rules.
We'll create a new pre-middleware called "Access Control" with the following functionality:
- Query the `users` table to retrieve the authenticated user's information.
- Check if the user is an admin. If so, grant access to the requested resource.
- If the user is not an admin, check if they are the owner of the requested resource.
- If the user is not the resource owner and is not a guest, throw an "Unauthorized" error, preventing further execution of the endpoint.
Here's a step-by-step guide to implementing this pre-middleware:
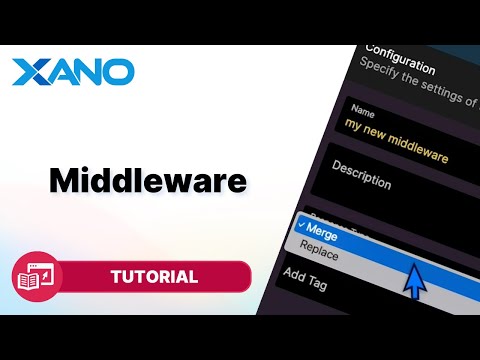
- In the Xano dashboard, navigate to the "Middleware" tab and click "Add Middleware".
- Name the middleware "Access Control" and provide a description: "Checks if the user requesting this resource is the resource owner."
- Set the "Response Type" to "Replace" and the "Exception" to "Critical".
- In the function stack, add a "Get Record" database request to retrieve the authenticated user's information using the `auth_id` value.
- Add a conditional statement to check if the user is an admin by comparing the `roles_id` column value to the admin role ID (e.g., 3).
- If the user is an admin, no further action is needed (leave the "Then" statement blank).
- In the "Else" block, add another conditional statement to check if the user is the resource owner.
- To check if the user is the resource owner, compare the `id` column value of the user record with the `user_id` column value of the requested resource (e.g., `task` or `to-do_list`).
- If the user is not the resource owner, add a "Precondition" utility function with a false condition (e.g., `1 = 2`) and set the error message to "This resource doesn't belong to you" with an "Unauthorized" error type.
- Publish the pre-middleware.
Assigning Pre-Middleware to Endpoints
After creating the pre-middleware, we need to assign it to the appropriate endpoints that require access control. These will typically be the endpoints responsible for creating, updating, or deleting resources.
To assign the pre-middleware to an endpoint:
- Navigate to the "API" tab and select the endpoint you want to protect.
- Click on the "Settings" icon and navigate to the "Middleware" section.
- In the "Pre-Middleware" section, select the "Access Control" middleware from the dropdown.
- Save and publish the changes.
Repeat these steps for all endpoints that require access control based on user roles and resource ownership.
Testing the Access Control System
To test the access control system, you can create sample users with different roles and attempt to perform actions on resources they don't own. For example:
- Create a "User Owner" and an "Admin" user in the `users` table.
- Create a sample resource (e.g., a task or a to-do list) associated with the "User Owner".
- Attempt to delete or modify the resource using the "User Owner" account. The request should succeed.
- Attempt to delete or modify the same resource using a different "User Owner" account. The request should fail with an "Unauthorized" error.
- Attempt to delete or modify the resource using the "Admin" account. The request should succeed, as admins have unrestricted access.
By following this guide, you've successfully implemented a role-based access control system in Xano, ensuring that your application's resources are secured and accessible only to authorized users based on their assigned roles and resource ownership.
This transcript was AI generated to allow users to quickly answer technical questions about Xano.
I found it helpful
I need more support


Build without limits on a secure, scalable backend.
Unblock your team's progress and create a backend that will scale for free.
Start building for free
©2026 Xano. All Rights Reserved.


